
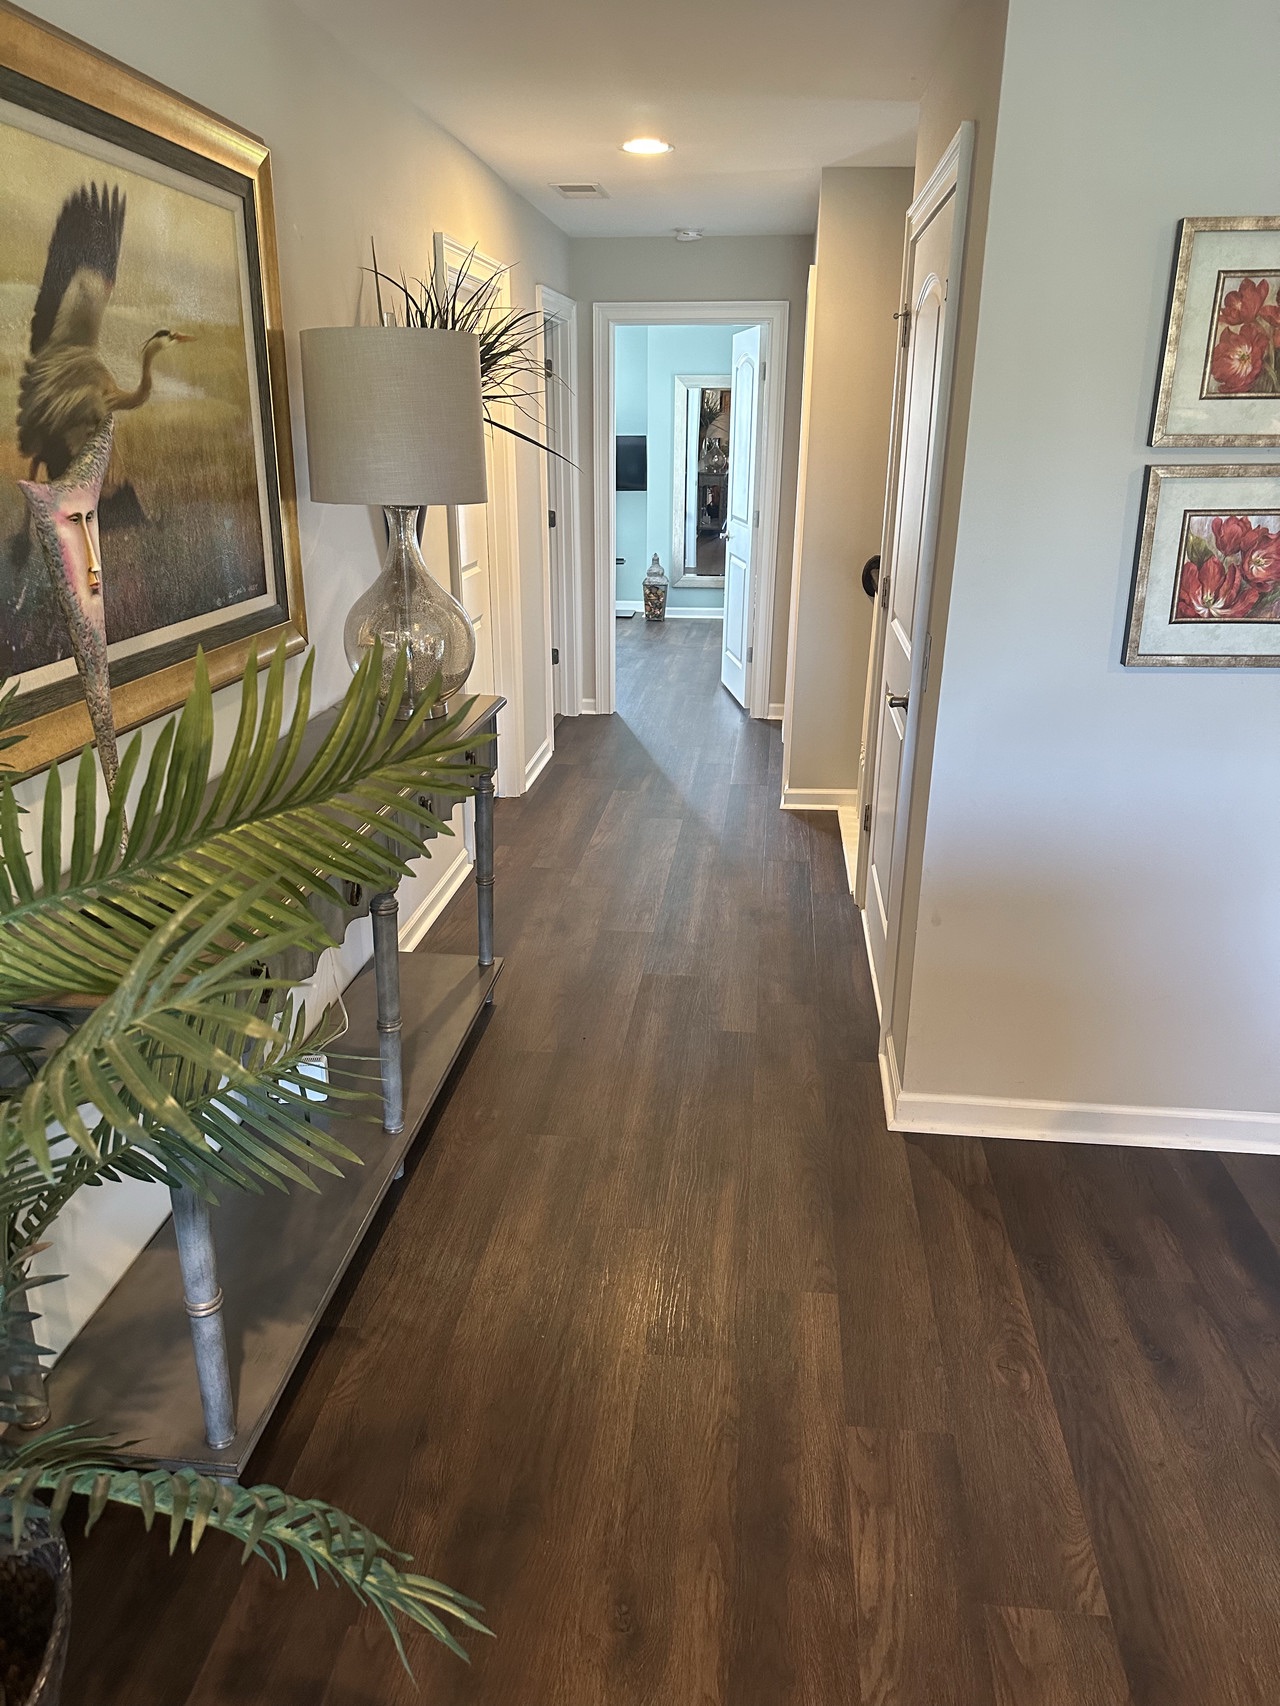

Installing luxury vinyl plank (LVP) flooring with a 2G locking system is a great way to achieve a stylish, durable floor with minimal effort. This guide will walk you through the process to ensure a seamless and professional-looking installation.
Tools and Materials You’ll Need:
- 2G Locking System LVP
- Tape measure
- Utility knife or vinyl cutter
- Tapping block
- Rubber mallet
- Spacers
- Underlayment (if needed)
- Pencil
- Straightedge
Step 1: Prepare Your Subfloor
Start by ensuring that the subfloor is clean, dry, and level. Remove any debris, nails, or staples, and fill any cracks or imperfections. A smooth subfloor is crucial for the locking mechanism to work effectively.
Step 2: Acclimate the Planks
Before installation, let the vinyl planks acclimate to the room’s temperature and humidity for at least 48 hours. This step helps prevent future expansion or contraction of the material.
Step 3: Plan Your Layout
Measure your room to determine the number of planks needed and decide on the direction of the planks. Running them parallel to the longest wall often provides the best aesthetic. Stagger the planks by cutting some to different lengths for a natural, seamless look.
Step 4: Install the Underlayment (If Required)
Some LVP products require an underlayment for added cushioning and noise reduction. If needed, lay the underlayment according to the manufacturer’s instructions, ensuring full coverage without overlapping sections.
Step 5: Start Installing the Planks
- Begin in a Corner: Place the first plank with the tongue side facing the wall, using spacers to maintain an expansion gap of about 1/4 inch (6 mm).
- Connect the Planks: Hold the next plank at a slight angle and insert its tongue into the groove of the first plank. Lower it gently until it sits flat.
- Complete the First Row: Continue laying planks across the first row, ensuring each one is tightly fitted to the previous one.
Step 6: Stagger the Planks
To maintain a natural appearance and structural integrity, start the next row with a plank cut to a different length. Repeat the connecting process for each row.
Step 7: Use a Tapping Block
As you progress, use a tapping block and rubber mallet to ensure each plank is securely locked into place. Avoid hitting the planks directly with the mallet to prevent damage.
Step 8: Trim the Final Row
Measure and cut the last row of planks to fit the remaining space, making sure to leave an expansion gap. Use a utility knife or vinyl cutter for clean, precise cuts.
Step 9: Finish Up
Remove the spacers and install baseboards or molding to cover the gaps along the walls. This final touch provides a polished finish to your newly installed floor.
Tips for a Smooth Installation:
- Maintain a stable room temperature to prevent the planks from expanding or contracting after installation.
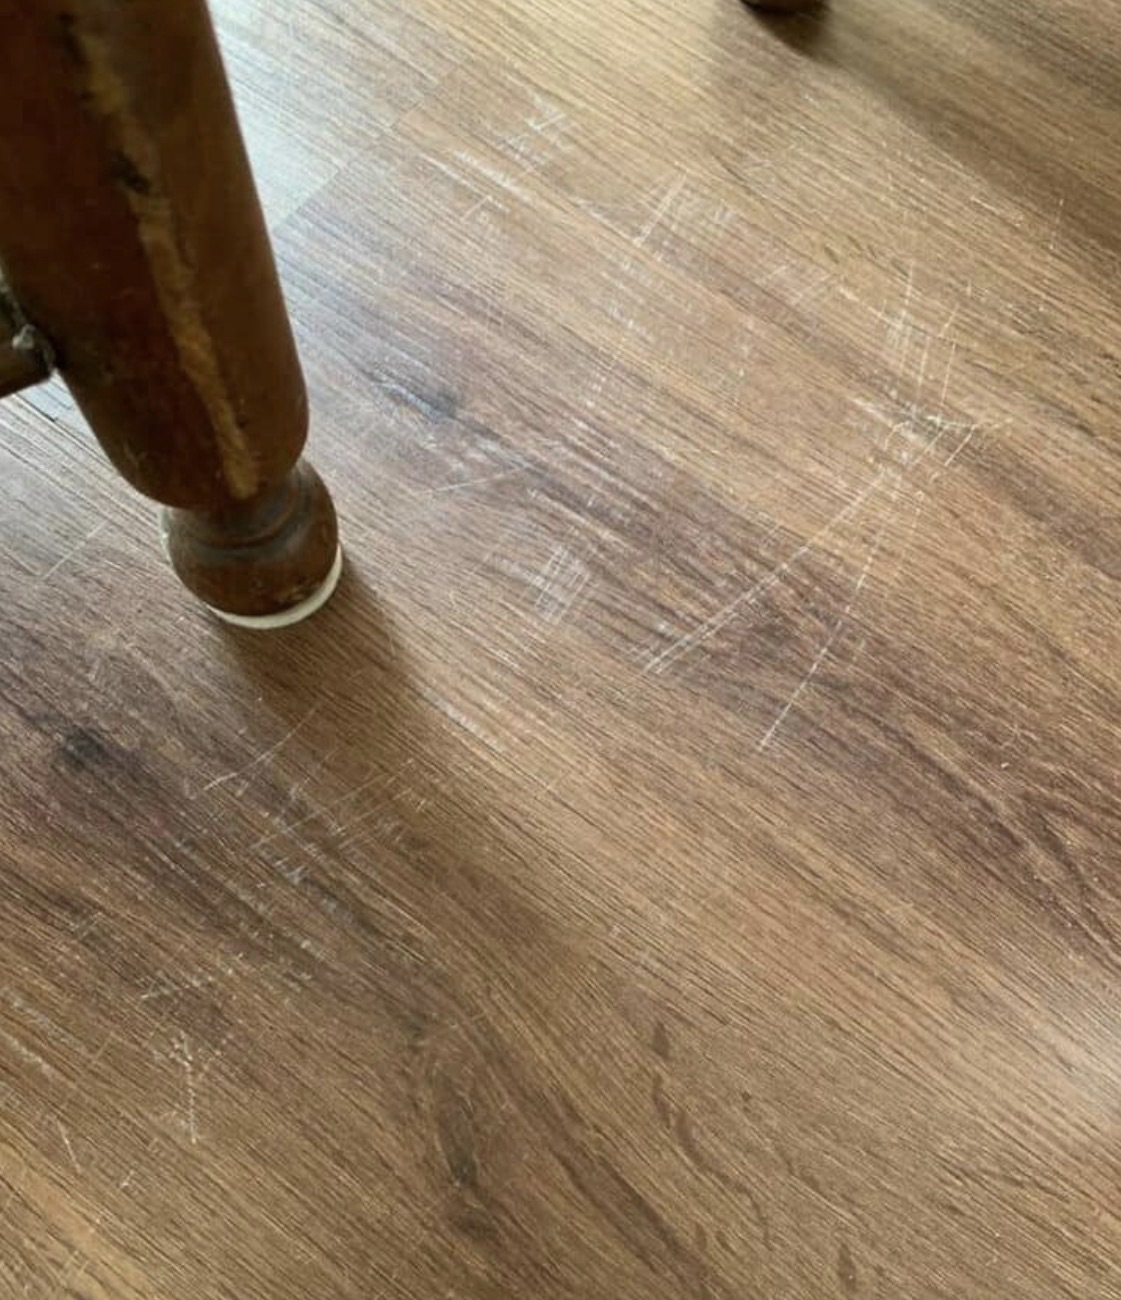
- Regularly check for debris in the grooves, as it can interfere with proper locking.
- Always refer to the manufacturer’s instructions for any specific guidelines unique to your LVP product.
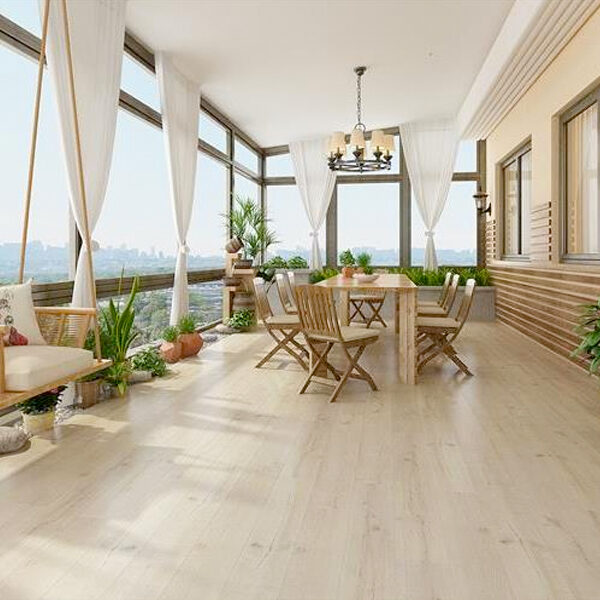
By following these steps, you can successfully install a 2G locking system LVP floor that enhances both the beauty and functionality of your space. Whether you’re updating a single room or renovating an entire home, this flooring option offers a practical and stylish solution.
Enjoy your new floors!
Monique